5 Snowmobile Photography Tips That Have Nothing to Do with Your Camera Settings
There are hundreds of online tutorials about which camera settings to use to get better action shots. But none of them offer any help when it comes to actually being out there, trudging around in waist-deep snow. With that in mind, here are 5 Snowmobile Photography Tips that will help you get better shots this winter. And not one has anything to do with your camera settings!
5 Snowmobile Photography Tips
Tip #1 Keep Safety in Mind
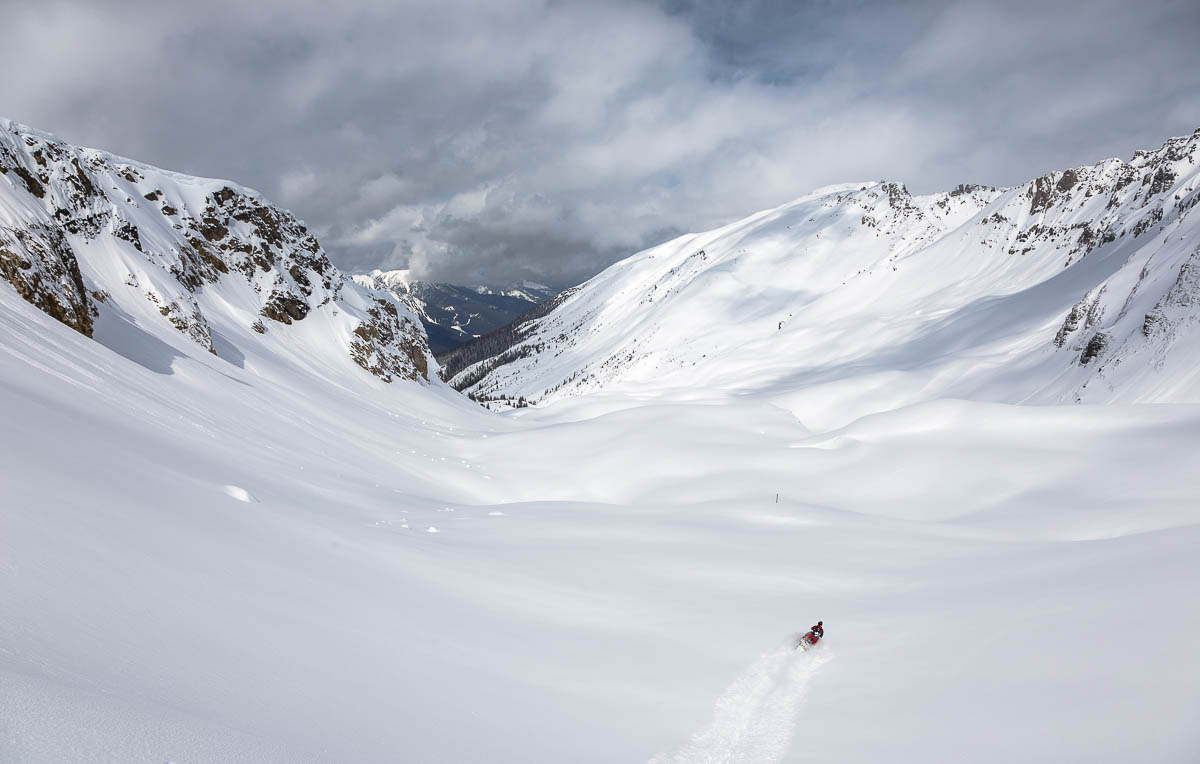
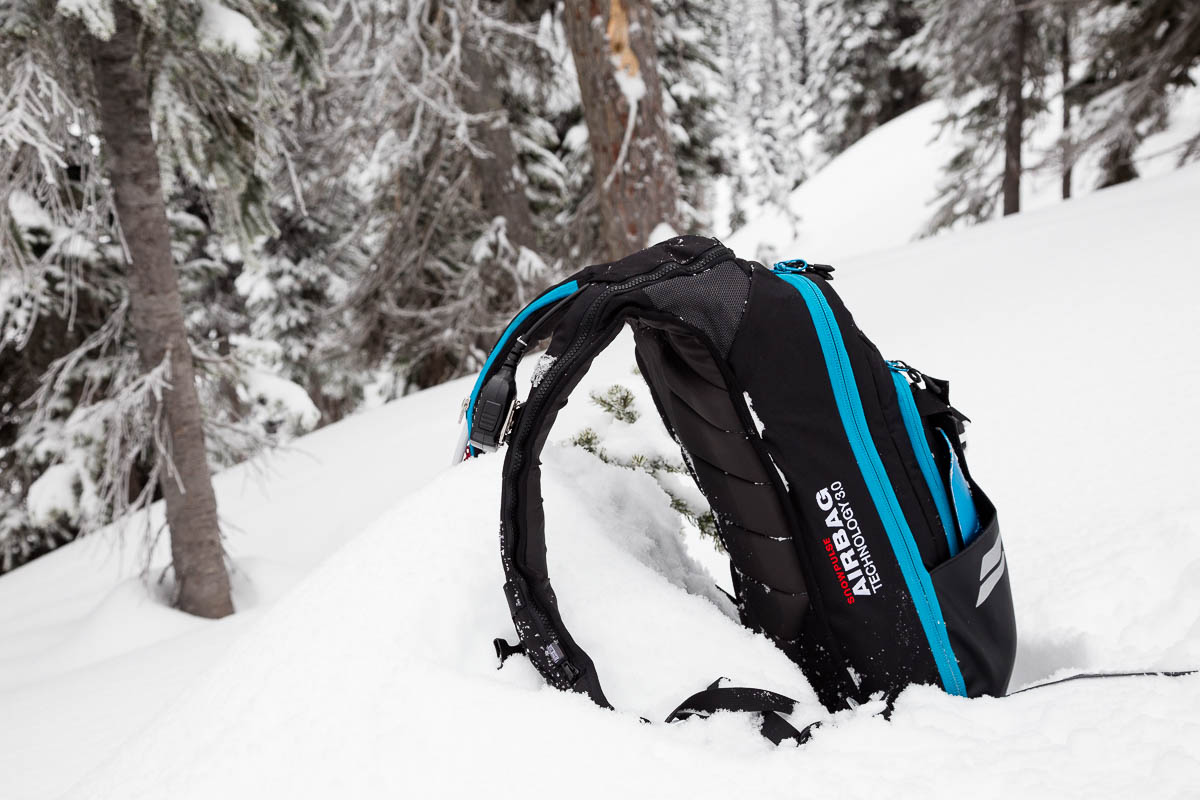
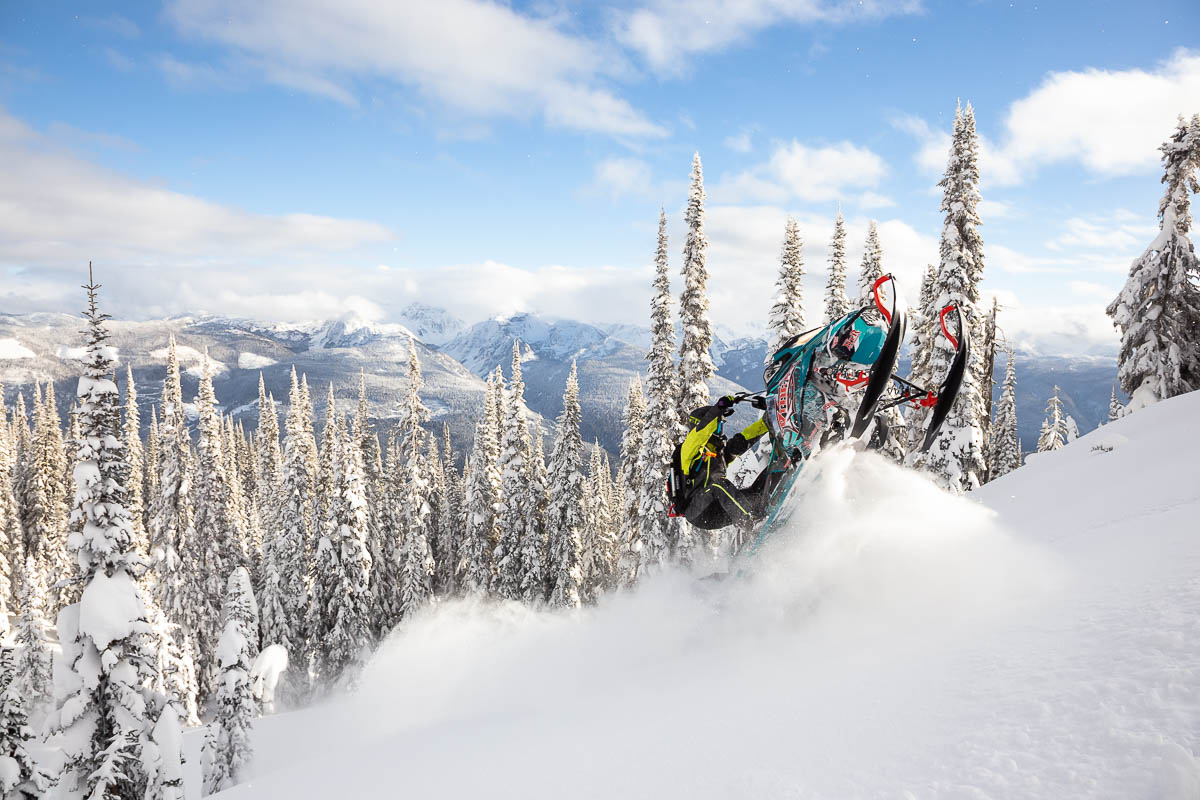
Okay, this first tip is kinda boring I know, but stick with me for a sec. This really is the most important thing to keep in mind. Where will your shot take place? If you’re shooting in the mountains, chances are there is going to be avalanche hazard. Before you put your eye to the viewfinder, look around. Will you or the subject be exposed to avalanche hazard? If so, think about the current conditions and if you’d be better off shooting elsewhere. No amount of Instagram fame is worth serious injury! If you both decide that getting the shot you want is worth the risk, then set up quickly and don’t dick around—take your photo and get back to safer ground. And make sure there’s a friend keeping an eye on you both from a safe place. Also, it is good practice to keep your backpack (with your avalanche gear) on while shooting—especially so if it’s an avalanche airbag. It’s tempting to leave your pack laying on the snow after you’ve pulled out your camera, but it does you no good there if something happens.
Tip #2 Communicate
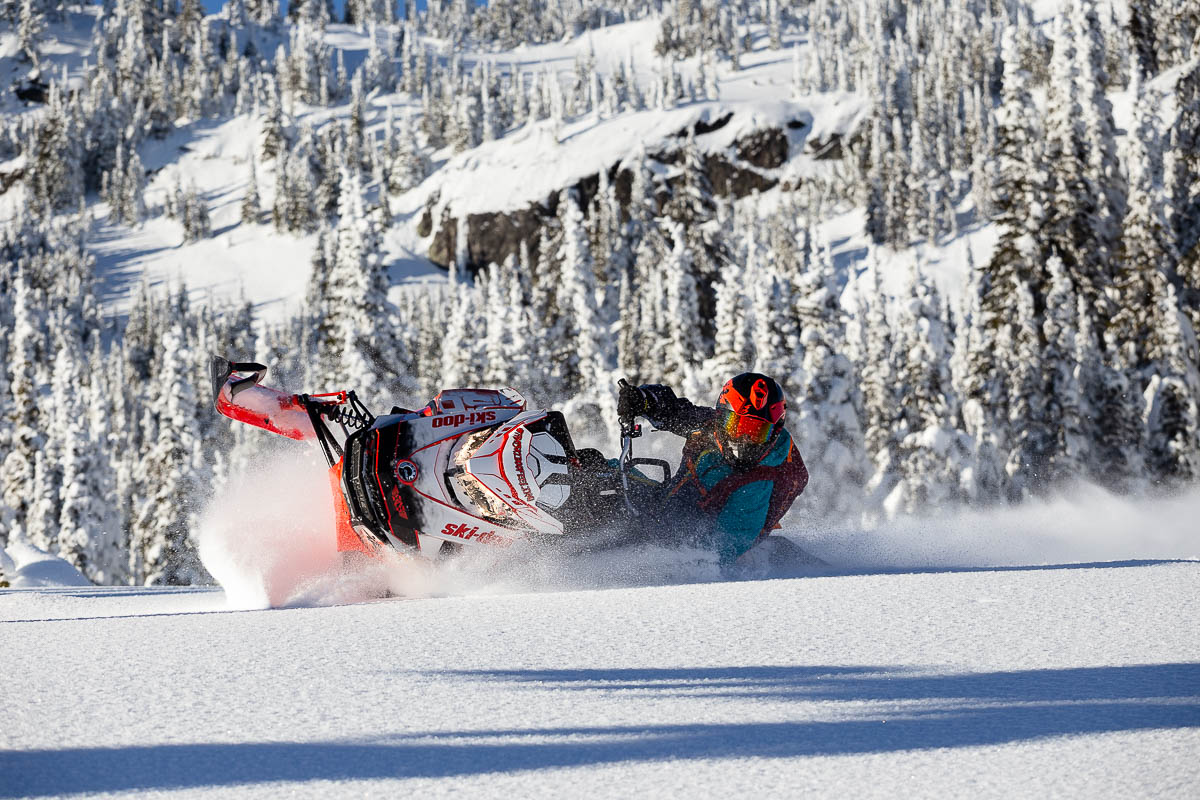
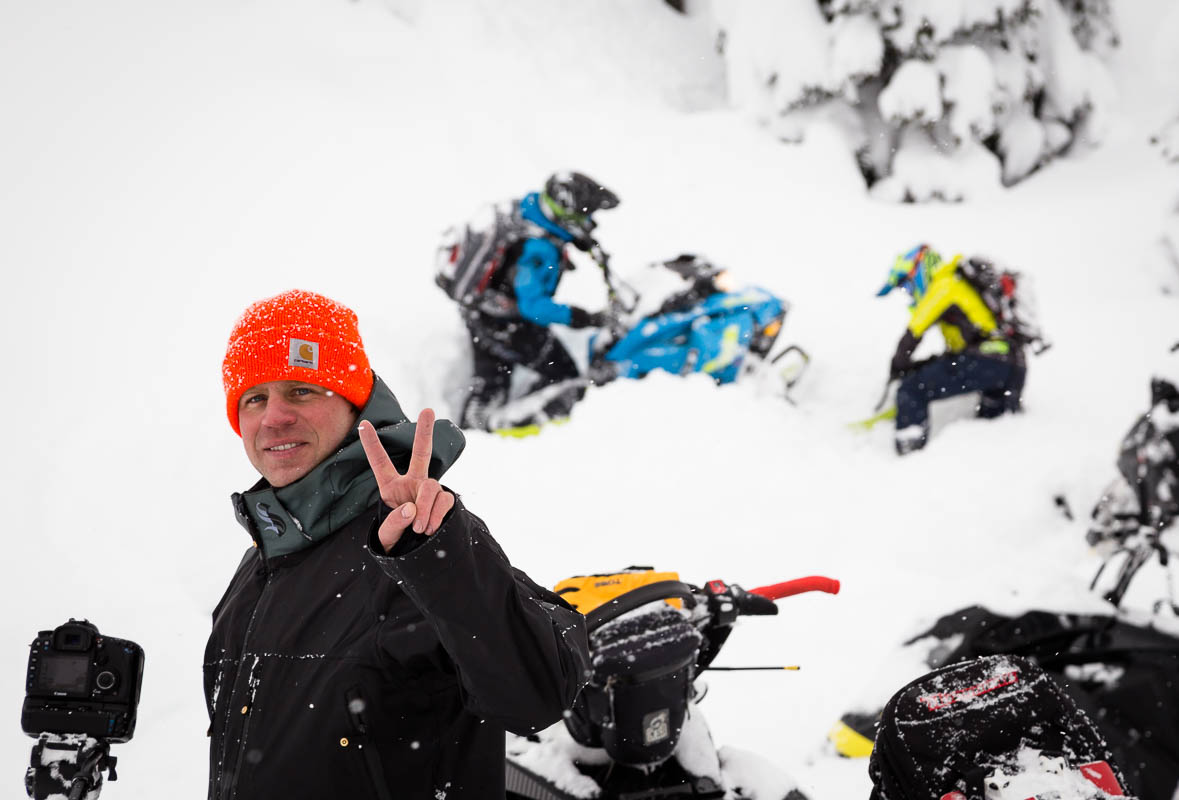
Make a plan with your rider subject. This starts when you arrive at a photogenic spot or some sick feature that you’d like to shoot. Now, pump the brakes! Don’t let anyone in your group track the area up until after you’ve got the shot you wanted. This is why small groups work better than large ones on shoot days because they are easier to manage. Focus on getting one good shot in an area, rather than simply holding down the trigger while the rider mindlessly tears donuts around you (we call this ‘spray and pray’). Let your rider decide what they want to do, or make a suggestion for them if you can envision a great action shot. Talk over what will happen, and where exactly. Throw a snowball to help agree on where the peak of action will occur. This will also give the camera a spot of contrast to help with establishing focus in that spot. Oops, I said no camera talk! My bad. Keep in mind that unforeseen circumstances can prevent even the most capable riders from following the plan to a ‘T’. Sometimes a rider can’t get to the right spot if there are cliffs or trees in the way. Or, an unseen roll or break in the slope can cause the rider to get off-course. Occasionally there is miscommunication about what is supposed to happen. Or maybe you left the lens cap on. D’oh. It all happens, so don’t let it ruin your day.
Tip #3 Make Yourself a Good Path
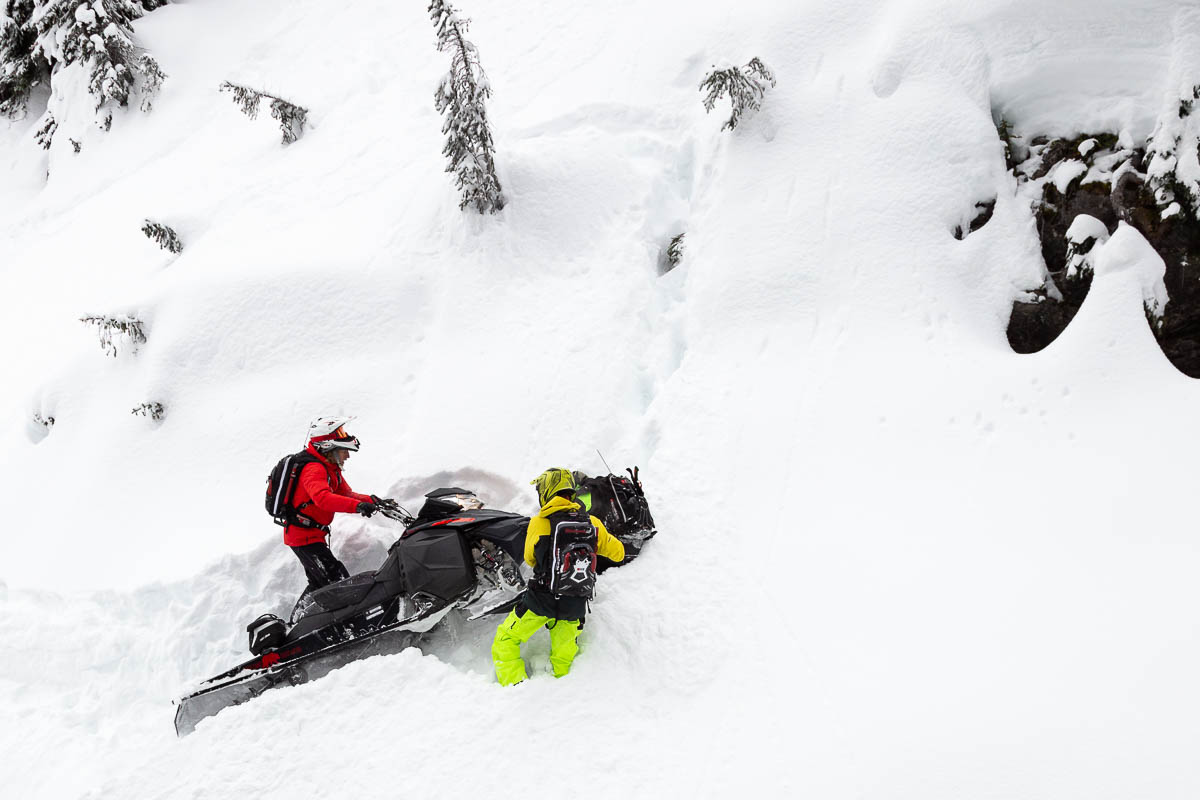
A good photographer works hard. They don’t snap shots from their sled and hope they turn out. They are on their feet, moving around through the snow to find good compositions with fresh snow. Meanwhile, every step you take away from your sled, you will likely have to retrace on the way back (unless you’re comfortable with riding tandem on a sled—a skill that is highly recommended for snowmobile photographers). So it’s worth making a good trail through the snow. This is especially true when walking downhill to get shots. As you know, walking downhill in deep snow is easy; coming back uphill is not. It can be incredibly beneficial to make baby-sized steps on the way down, especially when the snow is very fresh or hollow. This makes it significantly easier to trudge back uphill to your sled, especially when your hands are full of camera gear.
Tip #4 Get Used To Wearing Gloves
You might as well get used to handling your camera with gloves on, for a couple of reasons. First, you’re making snowmobile photography, so it’s going to be cold out. Your hands will be a lot happier if you can operate your camera with gloves on. Second, because even the top riders in the world are going to get stuck at some point. And as the photographer, you’re more often than not the first in line to help them get out. Don’t be a dick and stand there scrolling through your banger shots while the athlete does all the digging. Put your camera away and start digging, pushing and pulling. Your rider will thank you, and they’ll have more energy to keep pushing it for you later in the day.
Tip #5 Share Your Photos
Remember that every great snowmobiling action shot is made by two people—the photographer and the rider. Without either, the image cannot exist. For that reason, share your shots with the rider. That way, they can see what worked and what didn’t. And it’ll get them stoked to come back for more. You’ll have a more proficient subject who is willing to put in effort to create better images with you. Good luck, and have fun out there this winter! – Pat
You can check out some of the author’s sledding shots on Instagram @joe.sledz and for more tips, check out how to get better sledding shots.