Hidden Danger: the Hazards of Snowmobiling on a Glacier or Icefield
Powerful sleds and strong riders have opened the door to complex mountainous terrain in the backcountry. Sledders are now pushing deeper into the mountains than ever before, and in doing so, gaining access to the remote and breathtaking glaciers and icecaps of BC. However, recent glacier crevasse fall accidents are a tragic consequence of unprepared riders venturing into unforgiving mountains. Fortunately, these accidents can be avoided when riders become aware of the hazards of snowmobiling on a glacier or icefield, and gain the skill set required to navigate this type of complex winter terrain safely.
Here are some key concepts to help inform riders about the dangers associated with riding on glaciers and icecaps. Be advised that this information is presented for awareness only, and in no way replaces qualified instruction and mentorship from an accredited source such as a member of the Association of Canadian Mountain Guides.
Crevasse Fall and Other Hazards of Snowmobiling on a Glacier or Icefield
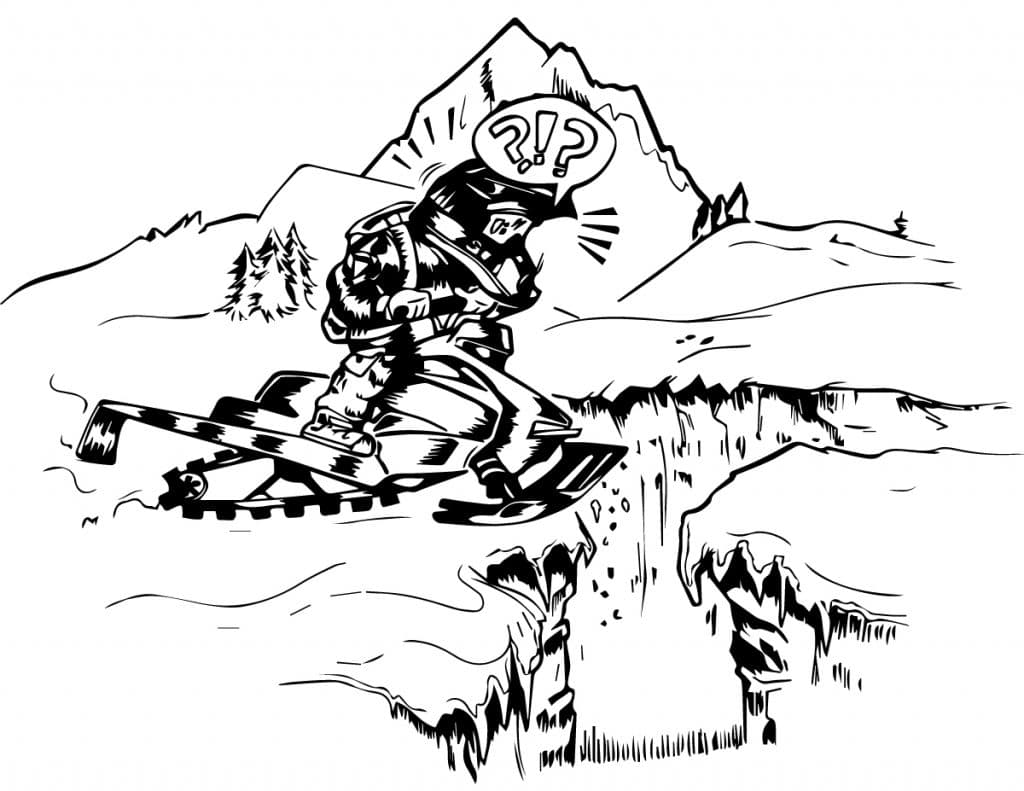
Illustration by Vern Stewart
Are We on a Glacier Now?
Identifying the Features of a Glacier
The ability to recognize and understand the features and hazards of a glacier is the first step towards eventually riding one safely; this knowledge can mean the difference between an enjoyable rip in some really deep snow and falling deep into the bowels of an icy prison. Here are some key features that will help you recognize glaciated terrain and the hazards of snowmobiling on a glacier.
Crevasse Hazard and What to Look For
Aside from the potential for avalanches—which must always be considered in the mountains—crevasse hazard is the biggest concern when riding a glacier. A crevasse is a deep fracture in glacier ice which occurs as a result of the flowing nature of the ice. These are most often formed where tension or compression is caused within the glacier by a change in direction or slope. Where a glacier pours over a very steep drop, an icefall can be formed, which can unpredictably shed massive chunks of ice downhill. A moulin is a circular, well-like hole that presents a fall hazard similar to that of a crevasse. These extend vertically downward and carry meltwater deep into the glacier.
The Anatomy of a Crevasse
Crevasse
A large, deep crack in glacier ice that can trap a fallen victim. These can be exposed, or hidden beneath a snow bridge.
Marginal Crevasses
Crevasses which tend to form along the lateral edges of a glacier.
Bergschrund
A giant crevasse that forms across a slope between the upper-limit of the moving glacier and the permanent snow or underlying rock on the slope above.
Moat
A large gap between a glacier and an adjacent rock face, where the snow has melted away from the heat of the warmer rock.
Terminus
The lowest end of the glacier. These may be rugged, with steep and partially collapsing towers of ice.

Illustration by Lyuba Kirkova
Know Where They Form
Crevasses typically form where:
- A glacier is forced to bend around a corner
- The angle of the underlying slope increases
- The outside edges of the glacier move slower than the middle
- The glacier narrows or widens
- A rock feature penetrates the surface of the glacier
- Two glaciers flow into one
How to Identify Crevasse Hazard
Clear weather and good visibility is clutch for glacier travel. Good light will allow a rider a better chance to spot open crevasses and other hazards. Try to guarantee clear weather all day by planning your ride to take place during a high-pressure system.
Get familiar with the terrain beforehand by looking at photos of the glacier or asking around for local knowledge. On the day, try to get a good view of the glacier from different vantage points first, before tackling it.
Look for depressions in the snow. Sagging trenches in the snow can indicate a crevasse bridged over and “hidden” by a layer of snow.

Illustration by Lyuba Kirkova
The Dangers of Falling into a Crevasse
- Sledder falls into crevasse and suffers trauma, potentially life-threatening.
- Sledder falls into crevasse and is buried by a collapsing snow bridge. This essentially becomes an avalanche burial scenario, except that the rescuers are not easily able to reach the victim.
- Sledder falls into crevasse and becomes hypothermic during a prolonged extrication.
- Sledder falls into crevasse and group does not have the rescue gear required or is incapable of extracting the victim.
Let’s Move
Traveling Safely on a Glacier
Glacier travel should only be attempted by those properly trained and with experience. The best strategy for glacier travel is avoidance of hazards; first learn what the hazards are and where they form, and then use that information to steer clear of those areas.
Ride at a medium pace and scan with your eyes. Moving too quickly across a glacier might prevent you from recognizing a hidden crevasse with enough time to avoid it by changing course. On the other hand, moving too slowly may unnecessarily expose you (and the full weight of your sled) to a hidden snowbridge.
Travel perpendicular to slots in the snow when crossing near a suspected snow bridge or crevasse. This ensures that only one sledder is exposed at a time. Travel in single file to further reduce exposure.
Stop often to reconnect with your group and to evaluate the terrain to ensure you’re out of harm’s way, especially before and after crossing suspect areas.
Use your avalanche probe to check for hidden crevasses! Before you step off your sled, probe to see you haven’t parked on a crevasse. A sudden lack of resistance in the snow indicates a hole. Warn the rest of your group and move away from the crevasse.
Hidden Danger
Due to the transportation of snow by wind across terrain, snow depth on glaciers can vary drastically. Throughout the day, get in the practice of using your probe to check snow coverage on the glacier. Deeper, well-settled snow means stronger snow bridges over crevasses. Avoid thin areas with snow less than 2m deep, or areas where the snowpack doesn’t get progressively firmer as you plunge in your probe.
If hillclimbing is on your agenda, watch for the bergschrund which may exist where the glacier recedes from the permanent snow near the base of a rock slope.
Warming and cooling temperatures may weaken snow bridges throughout the afternoon and early evening. The safest time to travel is early in the morning when the snowpack is frozen and strong.
Do you know where you are? Weather can move in fast; you can lose visibility, points of reference and your tracks quickly, all of which can obscure your safe route home.
Rescue
What to Do If Someone Falls In
- Try to make contact—using a radio or your voice, without putting yourself in danger of falling in as well
- Initiate EMS with your PLB or sat phone.
- Build an T-slot anchor—Tie a length of cord to a shovel handle or stuff sack and bury it deep in the snow.
- Secure the rope to your anchor and lower it to the victim.
- Next, tie into the rope, establish the edge and make contact. Be careful not to collapse a snow bridge when approaching a victim in a crevasse!
- Have the victim stabilize themselves by tying into the rope.
- A victim may also stabilize their position by using an ice screw and tying into that with a sling of climbing cord.
- Prepare the edge with padding (a shovel or pack) so the rope does not become entrenched in the snow.
- Haul the victim out manually if possible, otherwise, wait for rescue if initiated.

Illustration by Lyuba Kirkova
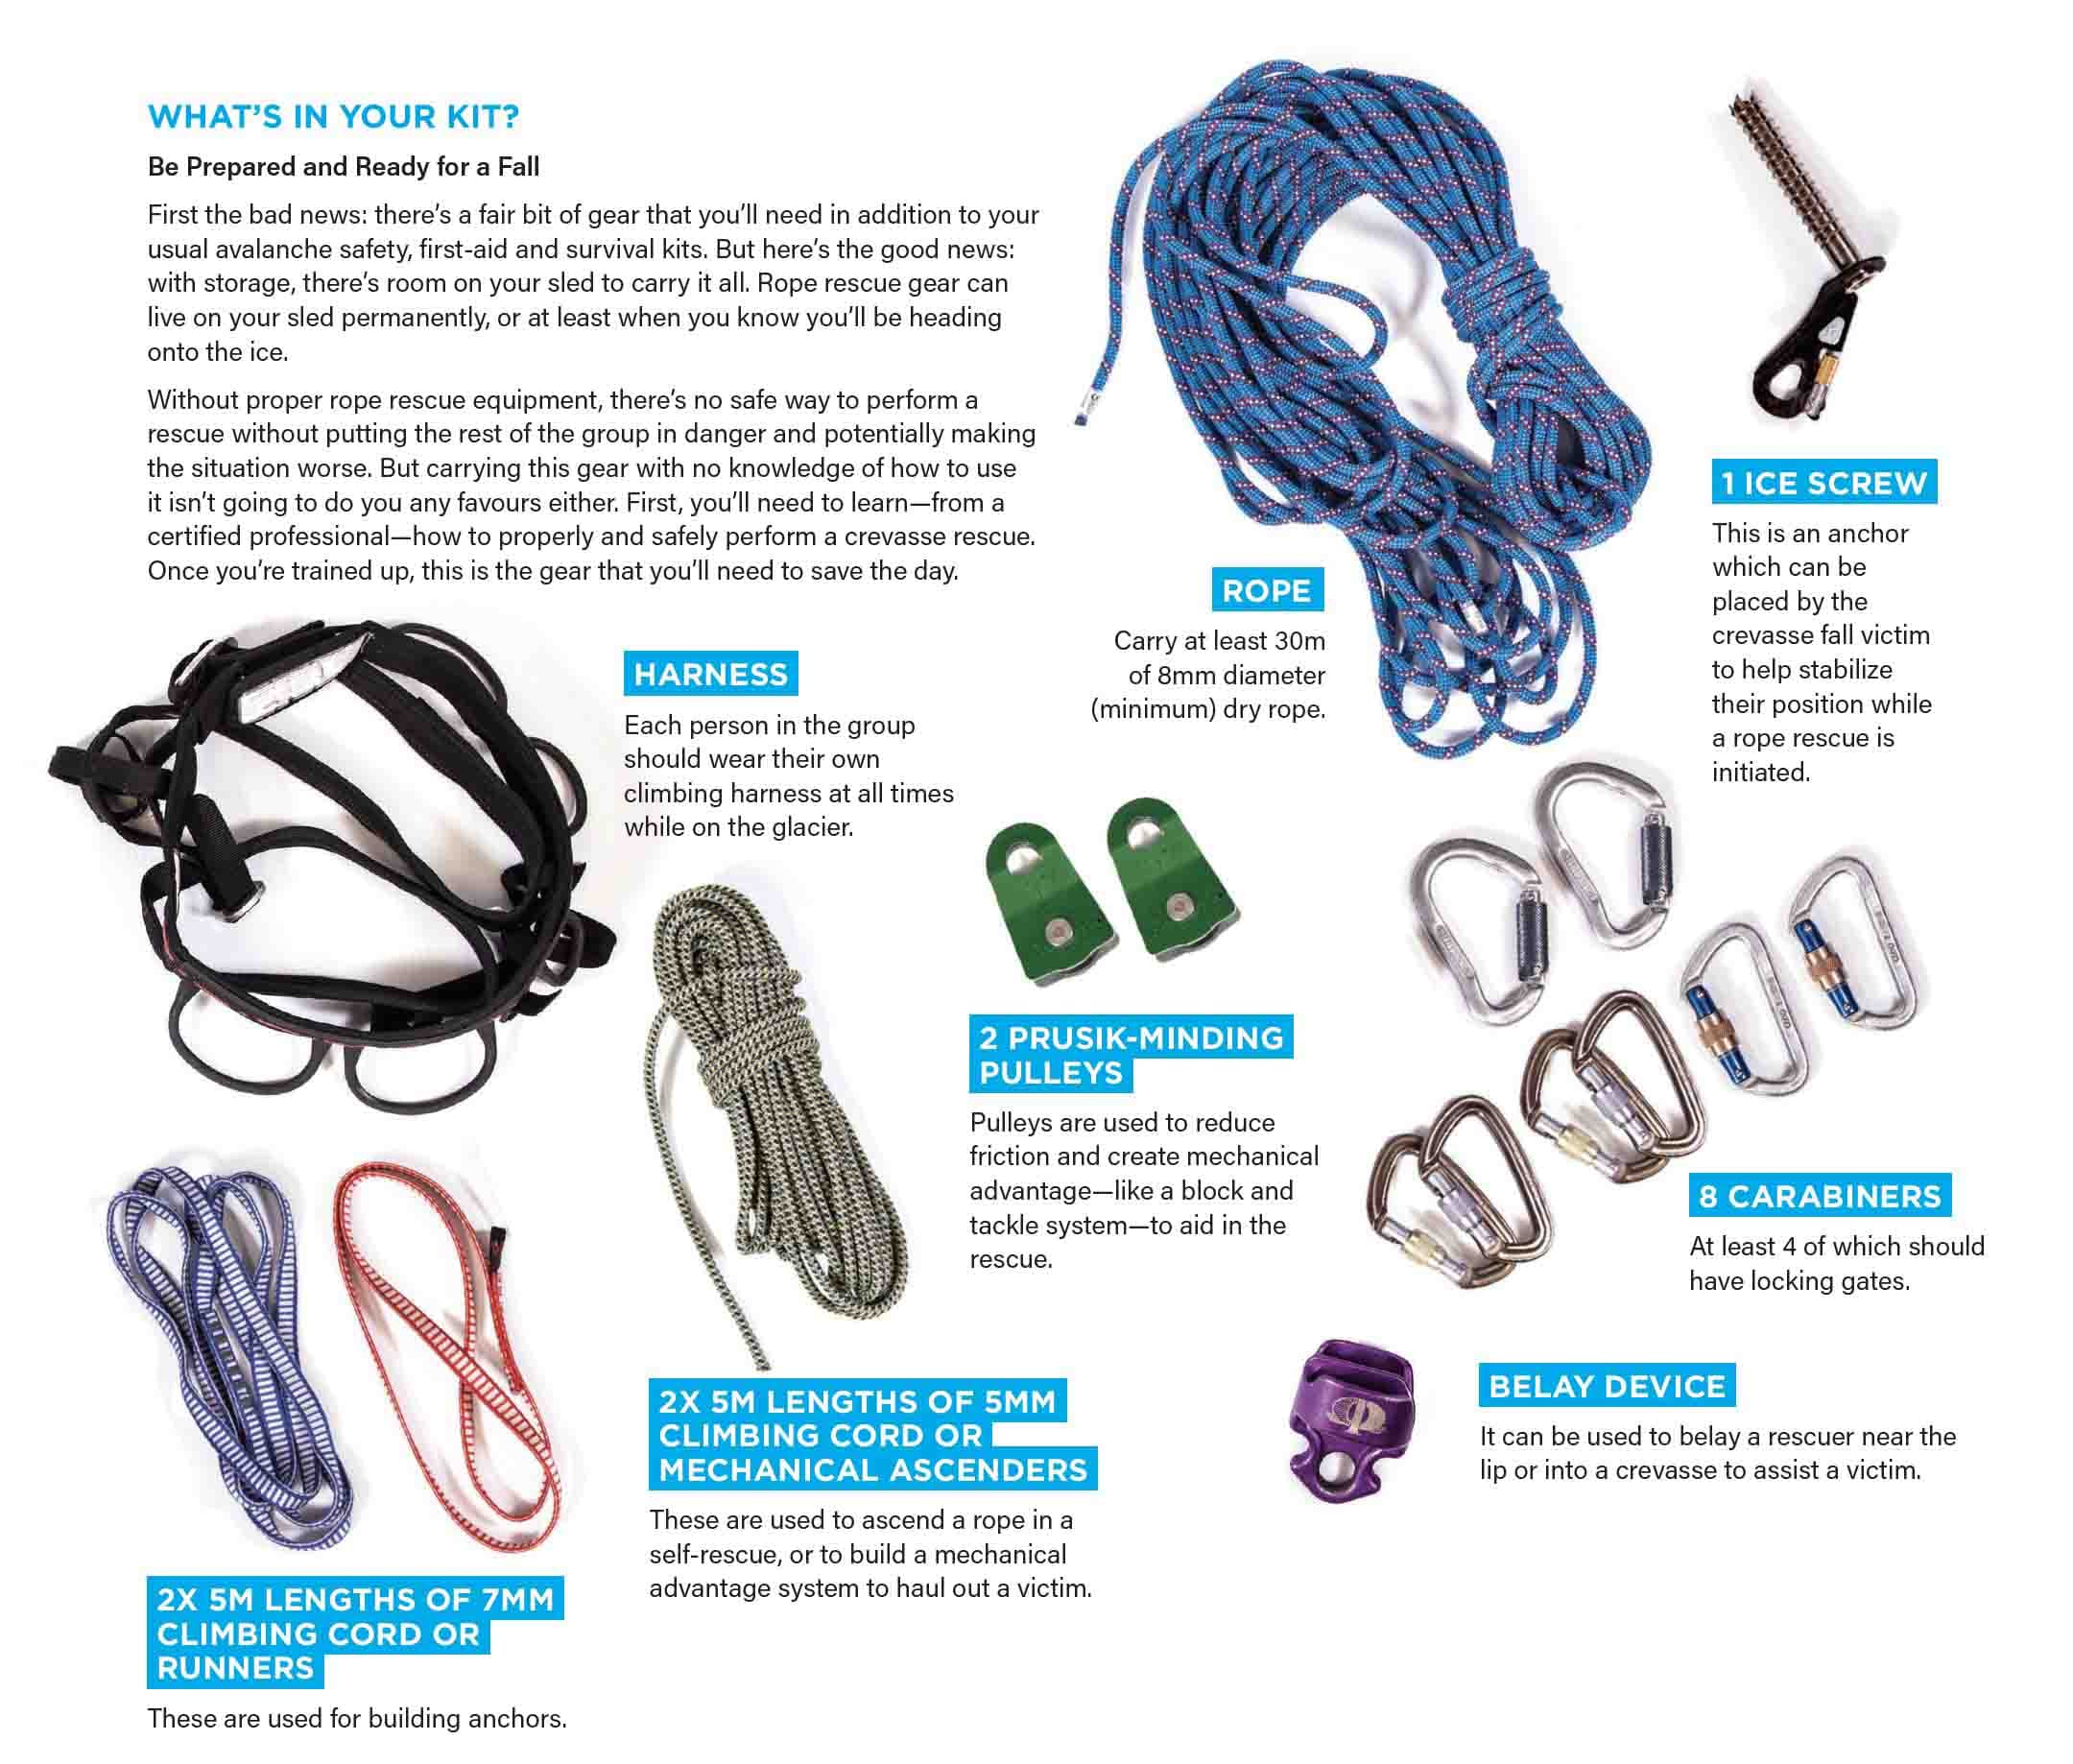
What’s in Your Kit?
Be Prepared and Ready for a Fall
First the bad news: there’s a fair bit of gear that you’ll need in addition to your usual avalanche safety, first-aid and survival kits. But here’s the good news: with storage, there’s room on your sled to carry it all. Rope rescue gear can live on your sled permanently, or at least when you know you’ll be heading onto the ice.
Without proper rope rescue equipment, there’s no safe way to perform a rescue without putting the rest of the group in danger and potentially making the situation worse. But carrying this gear with no knowledge of how to use it isn’t going to do you any favours either. First, you’ll need to learn—from a certified professional—how to properly and safely perform a crevasse rescue. After you’re trained up, this is the gear that you’ll need to save the day.
Mandatory Gear for Glacier Travel
- You’ll need to also consider warmth. Always carry with you a spare insulating layer such as a micro-down jacket, a toque and dry gloves. If you’re the victim of a fall into an icy crevasse, do your best to get some warm layers on.
- In addition, think about the time of day. It can get dark at 4pm in the mountains in BC in winter, and helicopters can’t fly in the dark. Are you prepared to spend the night?
- GPS and a map are crucial for safely navigating vast glacier terrain, especially when the visibility is less than ideal.

Hidden Danger: the Hazards of Snowmobiling on a Glacier and Icefield
Always remember that crevasse fall hazard is a very real and constant concern when travelling on any glacier! Even simple, low-angle glaciers and icefields commonly explored by sledders are not without danger. A simple fall into a small crevasse can rapidly become a life-threatening situation, even for a well-prepared party.
However, gaining the knowledge and experience necessary to travel in glacier terrain isn’t difficult. But just like avalanche rescue techniques, crevasse rescue skills require training and practice, practice, practice to be effective. By gaining these skills, riders may safely push farther into some incredibly beautiful and remote, mountainous terrain.
Golden and District Search and Rescue is a 100% volunteer-run, not-for-profit which has been operating in Golden for 52 years.
