How to Build a Backcountry Jump
A lot of things come with instructions, like IKEA furniture and those cheap pre-made meals from the frozen food section. Jumps, however, don’t come with instructions. Building hits is an art so there’s no single right way to build one, but there are a lot of wrong ways. Here are some general steps we suggest for when you and the crew are starting to feel sendy.

1. Jump placement – You need to have an idea of what you’re building and how you’ll use the natural terrain with your hit. To keep it simple, find a spot for a take off that lines up with a good landing. Jumps to flat lead to broken sleds and broken bones, so the landing is crucial. The higher you pop, the steeper the landing needs to be. And make sure you have enough space for a run in and run out before you start digging.

Proper placement is key. Don’t waste time on a bogus spot.
2. The Lip – As the landing gets beat up during a jump session, you’ll start hitting the lip at angles to try and find softer snow, so try to make the lip at least a couple feet wider than a sled and thick enough to have a smooth transition. Usually the transition into the lip needs to be wider and longer than you think, but let’s be real, we often get lazy and make it too short. It’s not uncommon to slam into the lip, get bucked way high and then forced to react and ride that shit out. Build it to how crazy you want to get.

You gettin’ lippy? Good.
3. Stack and Form – Start digging. Building jumps depends on snow consistency and beyond just tossing snow in a pile, there’s different ways to stack it. With hard snow you can cut blocks using a shovel or saw. With warmer, spring conditions where the snow is sticky you can roll giant snowballs, which can be shaped to form the base of a jump really fast. Fill in the cracks, pile the snow evenly and pack it as you build it by beating it with your shovel. As you build, start forming a wedge shape and be sure to pack the sides and lip. The more you pack it the less likely it is to blow up first hit. Note: Bringing various shovels helps speed things up. When you see a dude who has a normal avalanche shovel on his pack but also has a massive grain shovel, you know he means business.
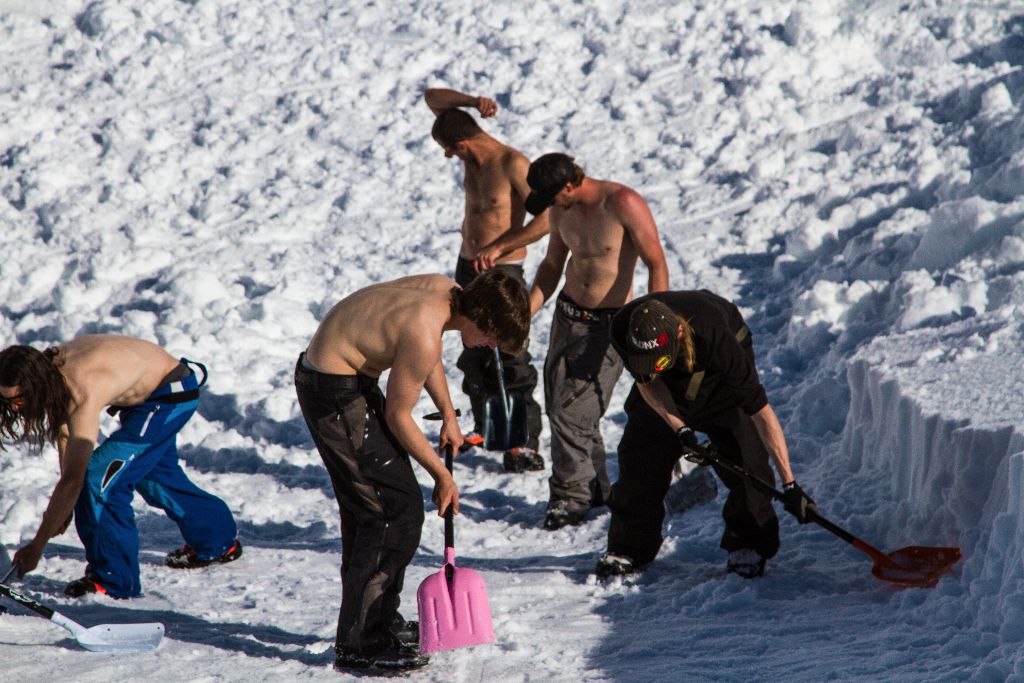
How many shirtless dudes does it take to build a jump? Too many, apparently.
4. Shaping the Transition – A mellower transition means more distance and a steeper transition means more height. Try to match it to how your landing is looking. Use your shovel to shape your angle. Try to keep it even throughout and fill in any holes. Make sure the transition at the bottom of the jump is smooth coming from the run in.

Gearing up for getting down
5. Pack it Again – That jump you just built, yeah, it’s probably not packed hard enough. Pack it again and add snow where needed. Patience is your friend. To pack you can use shovels, your feet, and in some cases you can carefully ride a sled up the jump and let it coast backwards down the transition.

Packin’
6. Setting Up – If you want the jump to last you have to give it some time to set up. This depends on your snow consistency and patience. Another way to toughen the jump up is adding salt to the snow throughout the build and on the surface of the lip. It will melt the snow slightly then it’ll re-freeze and harden up.
7. Send It – A lot of guys will do a speed check. Do a practice run to feel comfortable. Make sure you’ve made things as safe as possible like wearing your neck brace and embrace the chaos and pin it.

Time. You gotta spend it to send it.
Photos by: TGFG