How to Get Better Sledding Shots
How often have you snapped what you thought was a great snowmobiling photo, only to find out later that it's blurry, too dark or the action just isn't that great?
Don’t worry, it happens! Check out these useful tips on how to get better sledding shots that you’ll be stoked to share!
Light
- Whenever possible, wait for the clouds to pass for bright sunshine. Full sun will make the snow pop with white, and give good contrast to your photo.
- If it is an overcast day, zoom in close on the rider to reduce the amount of bland, grey snow in the shot. Switch your camera to the “Cloudy” mode.
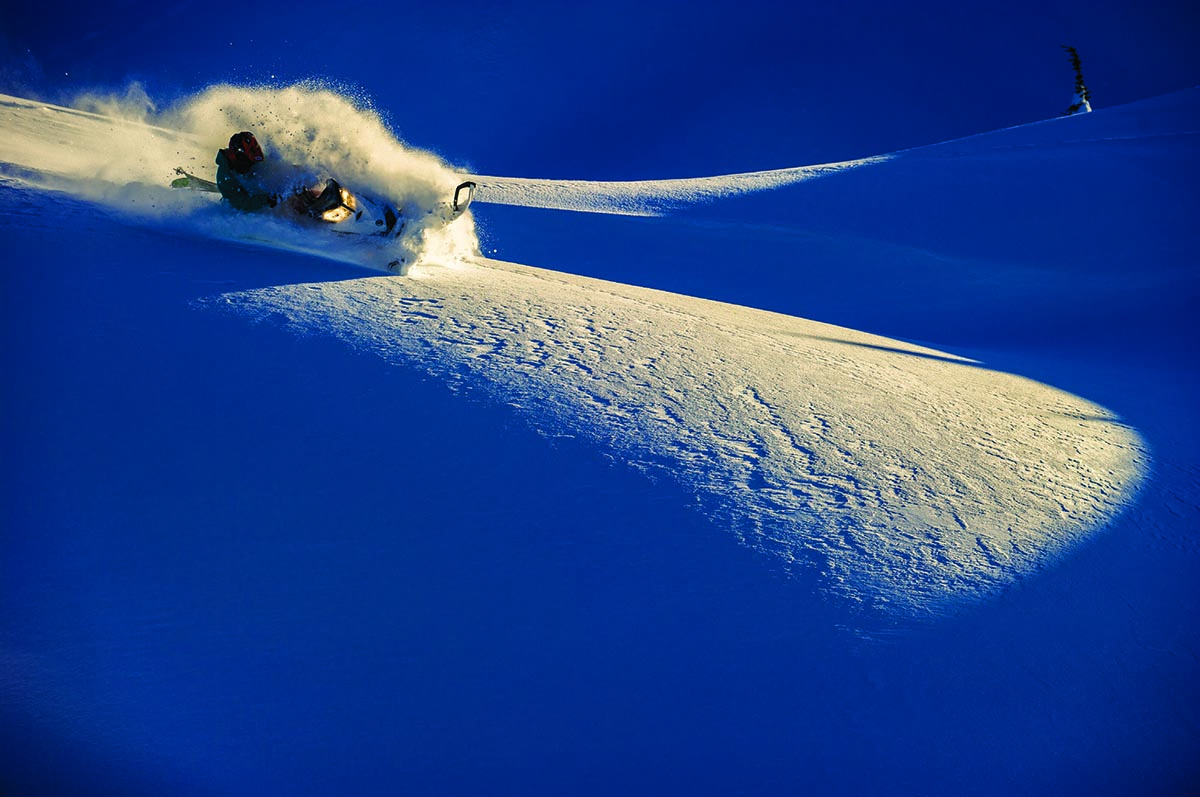
- The best time to shoot is early morning and late afternoon when the sun is low, which results images with vibrant colour and well-defined shadows.
Location
- Even if it’s not a powder day, try venturing off the beaten path to find a patch of untouched pow for your shot.
- Train your buddies to show a little restraint and wait until you’ve got the shot before going bananas on the area.
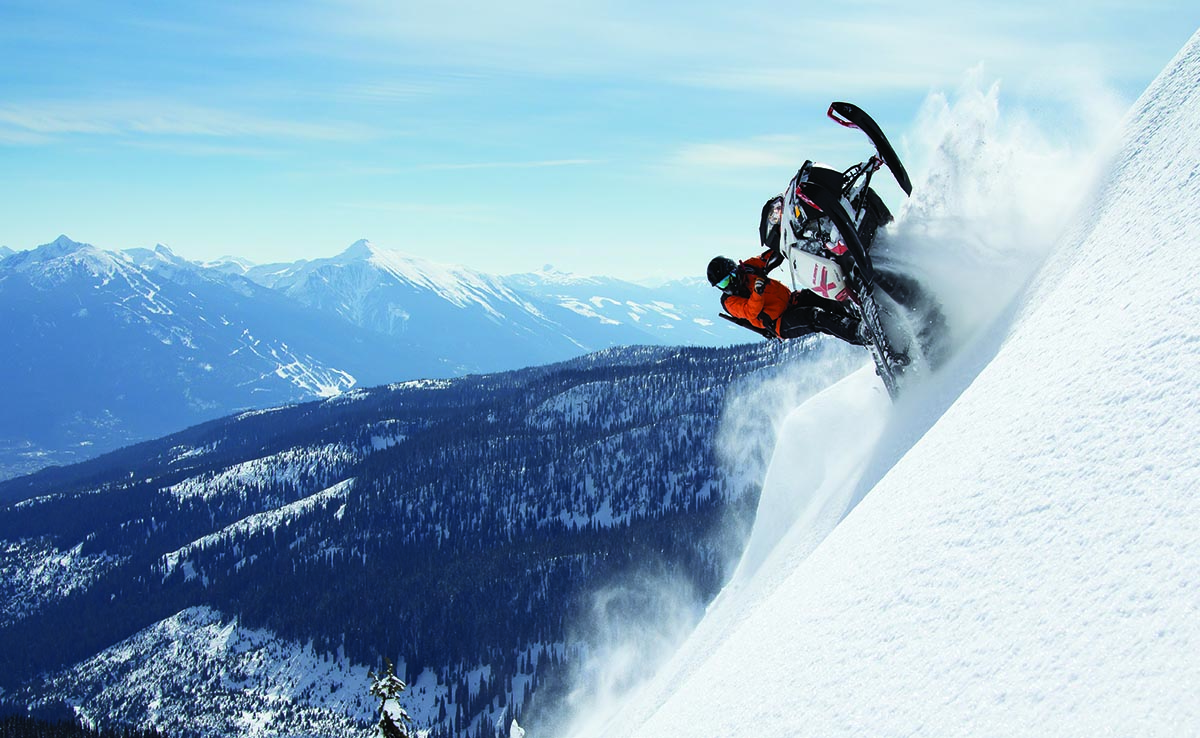
- Whenever possible, put a nice foreground in front of a nice background.
Bad! Overhead cloud makes for grey snow. Rider dead-center in frame. Tracks! Find a fresh spot.
Composition
- Avoid distracting elements like tracks, other sleds, and empty beer cans in your shots.
- Keep it interesting by varying your composition so that the rider is not always in the middle of your shot. Google “Rule of Thirds”.
- Make the horizon level and the trees vertical. No camera tilt/fake steep cheesiness!
Speed
- Shoot either on Sport mode or at a shutter speed of at least 1/800th of a second to avoid a blurry rider and/or background.
- For sharp shots, hold the camera still. That means lay off the coffee and cigarettes, Edward Surgeonhands.
- Try to compose your shot, then let the sled ride through without moving the camera.
Focus
- Pre-focus your camera to avoid camera delay when pressing the button, so you can capture the action at its peak moment.
- Do this by half-pressing the shutter button with the focus selection on the spot where you think the action will happen.
- Then recompose your shot and snap away by pressing the button fully, knowing that you won’t accidentally be focused on the background by mistake and miss the shot.

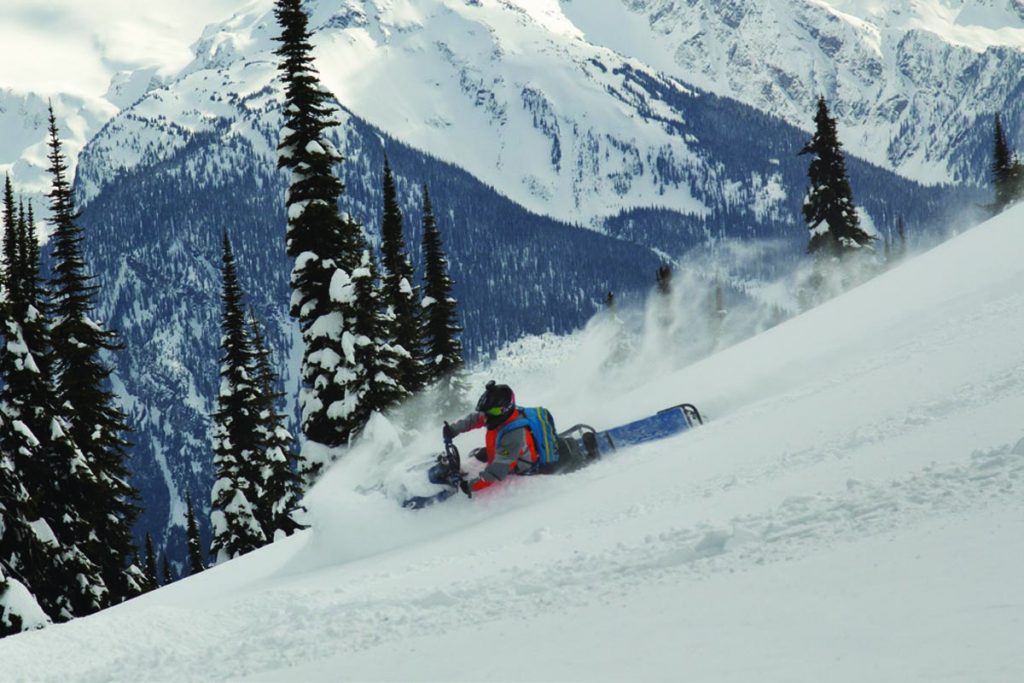
Bad! Distracting shadow in corner. No communication = where are you going? Titled horizon.
Patience
- Thoroughly discuss what will happen and where, so you and the rider are on the same page.
- Have the rider wait until you are sure you have all your settings dialed in. Take a test shot and make any adjustments necessary before giving the thumbs up to rip the snot out of it.
- Make your rider give you a 10 second warning before “dropping”, and get ready to nail the next Mountain Sledder cover!
You’ve got this! Now get out there and have fun!